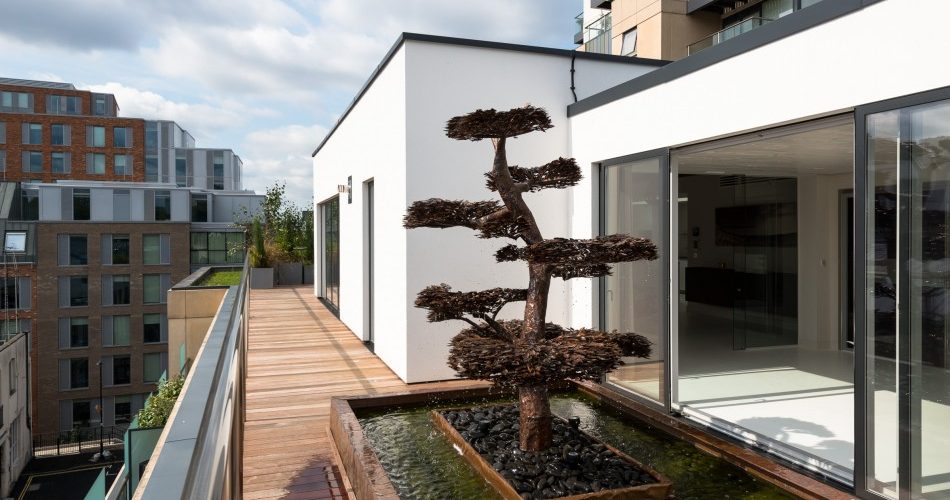
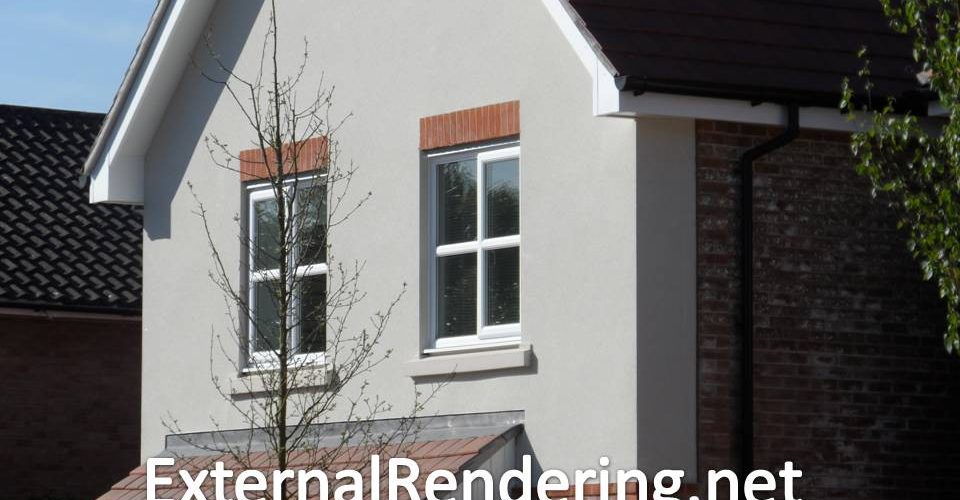
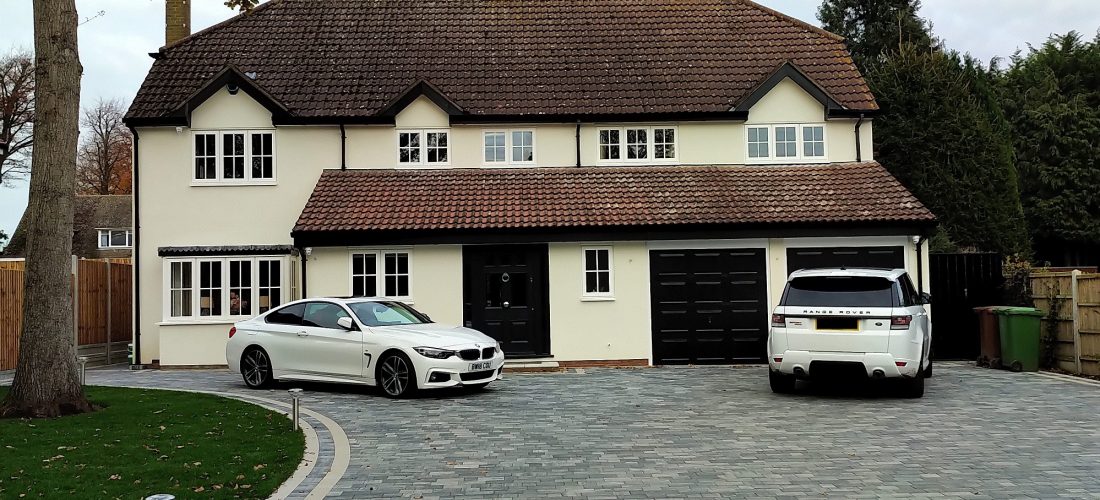
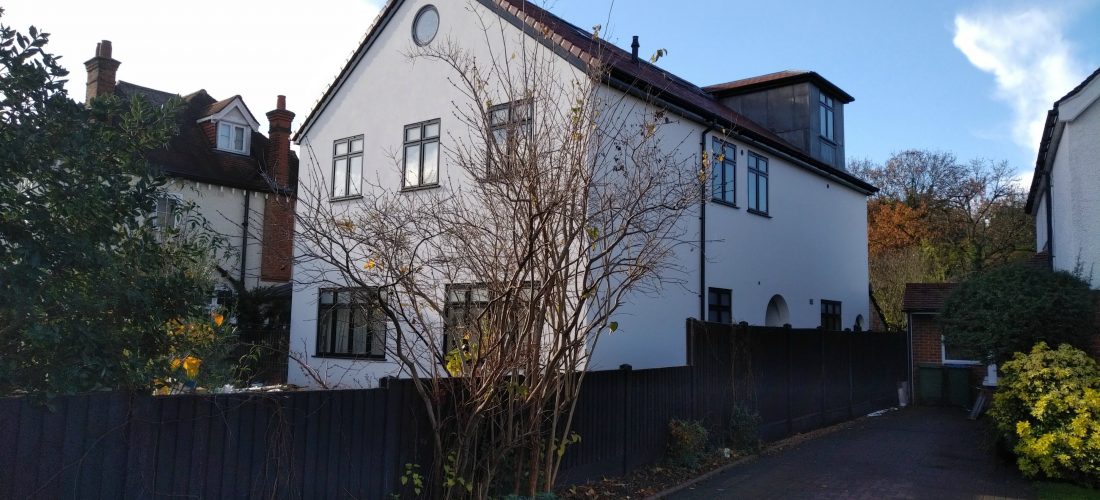
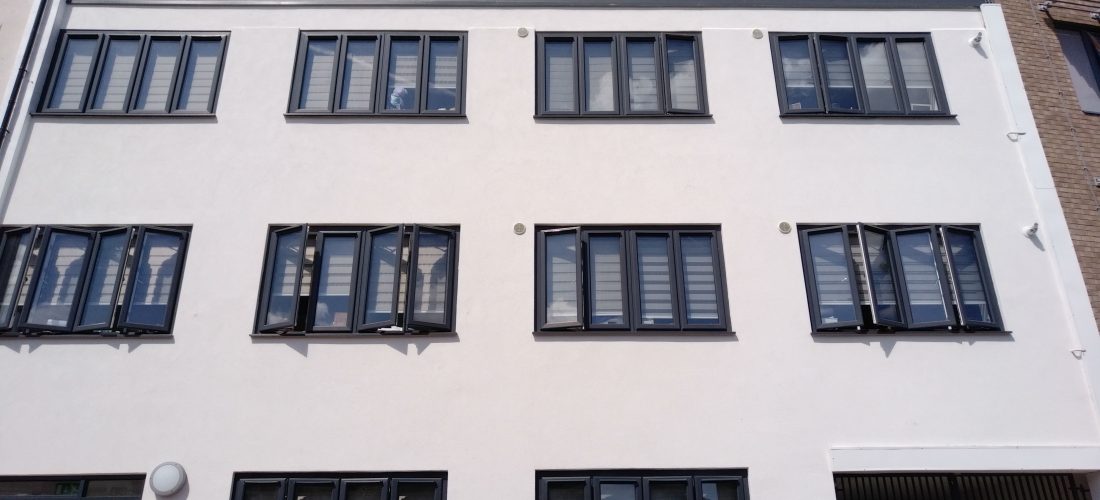
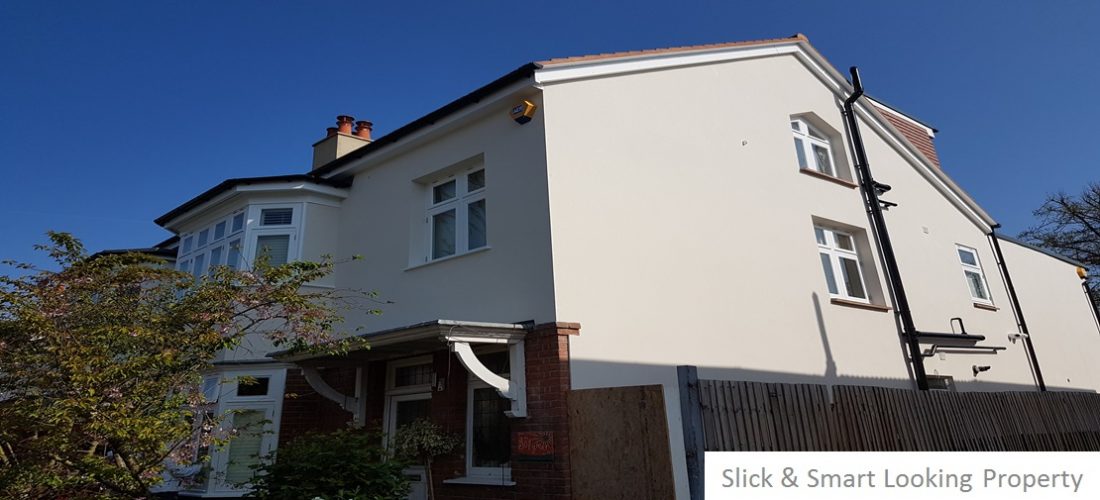
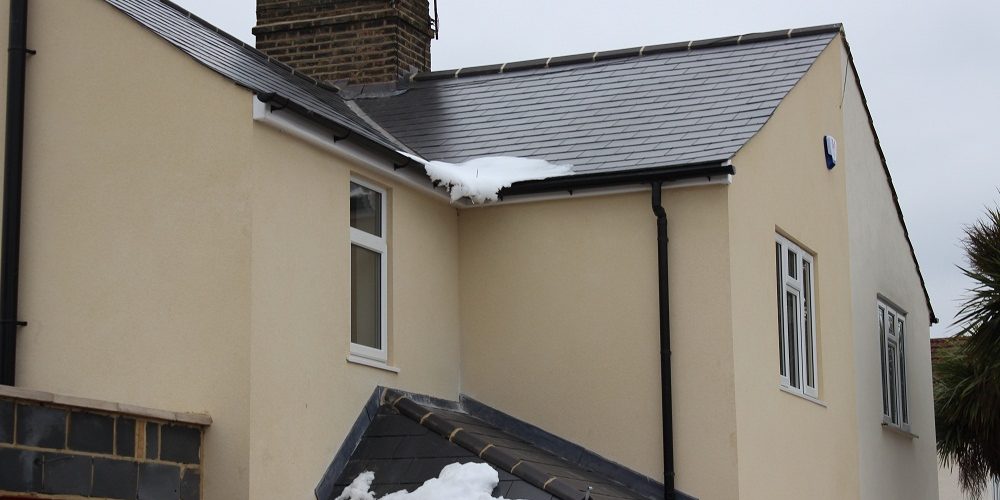
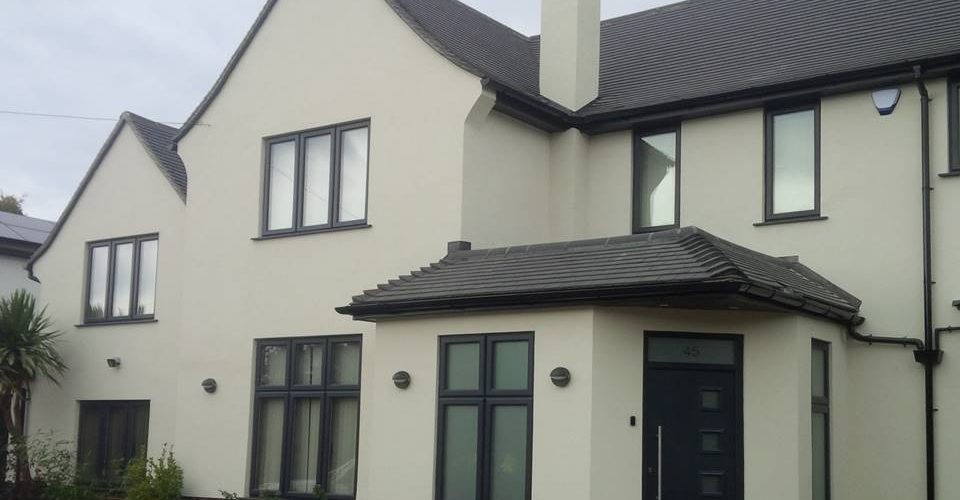
K Rend
We offer a rendering service that involves the use of K-rend and key features of this rendering material are:
- At its core, the cement based K-rend material incorporates silicone water repellents that grant any substrate surface (to which this material will be applied to) the ability to repel water whilst also allowing water vapour to pass freely and exit the substrate surface from within the structure. The water repellent ability of the rendering material allows the finished surface to have a drier appearance for a prolonged period of time which is particularly resistant to algae growth (microrganism found on the surface of ponds) and limebloom (surface discolouration).
- Ease of application and maintenance of K-rend in comparison to the more problematic approach of the traditional rendering technique. K-rend avoids the problems encountered by the more traditional method such as the differing sand and cement mixes, hollowing, shrinkage and crazing that are liable to occur as insufficient time is allowed between the application of coats. Coupled with the fact that for the traditional method requires two coats of masonry paint to be applied which affect the renders ability to ‘breath’ as well as the requirement that a trades person and their assistant must visit the same area on four or more separate occasions which is costly in terms of time and manpower. K-rend avoids all this.
The practical aspects of applying K-rend
When K-rend is first applied to the chosen surface to be rendered, the k-rend is applied in either a single coat of thickness 16 mm or is applied in two coats (the initial layer of coat having a thickness of 6 – 8 mm and the final layer of coat having a thickness of 12 – 14 mm)
After the layer of k-rend is applied through either one coat or two coats, it is allowed to set and roughly 2 mm is scraped off the 18 mm k-rend layer to get a 16 mm layer.
Note: if k-rend is being applied in two coats,, first there is a k-rend base coat applied and then a final coat is placed on to of the base coat to achieve an overall minimum thickness of 10-12 mm. Once the tw0 coats are applied, a darby tool is used to smoothen and flatten the dual coat layer.
The next step is to ensure the render has set but not hardened (usually sets after 24 hours in moderate conditions or if the user is unsure, they should test the render’s reaction to application of pressure i.e. if the render does not have the apppearance of a thumb fingerprint when a thumb is pressed against it and is marked only by a thumb nail, that means the render has set). Once it has been established that the render has set, the rendered surface is subjected to light, circular scraping motions to ensure that any areas of the rendered surface are even. Scraping is to be carried out until 1-2 mm thickness of render has been removed from the surface.
Once scraping has been done, the scraped surface is brushed softly to:
- remove loose material
- check areas that have not been scraped properly
- smooth out any scrape patterns or marks
Should the owner wish to have the rendered surface have the appearance of interlocked stoneworks, an ashlar cutter is used to make deep gaps between the rectangular/ cube segments of the render.
Note: a render of minimum 10 mm depth is required between the base of the newly cut gap and the chosen rendered surface.
Getting an Estimate
We know that choosing the right company to do your rendering work for you can be quite a hassle. We therefore offer free estimates for all your commercial and private work. So give us a shout, we are sure that you will be pleased with the quote we give you.
![]() K Rend approved
K Rend approved
![]() Insured
Insured
![]() High quality services
High quality services
![]() Always on time
Always on time
![]() Friendly
Friendly